Sewing the tam in red velvet
To try out pattern v 2.0, I'm using some scraps to make a 13" wide tam.
I drew the pattern on a piece of plain newsprint, marking lines for a 14" and a 13" tam. The long side of the pattern is for a fold:
Next I basted the interlining to the wrong side of the velvet, marking the same spokes. And I did additional basting (quilt-style) between spokes.
To fold the darts that make the brim, I pinned the fabric (velvet side down) to the pattern near the center, matching centers, then marked the eight corners of the octagon with red thread.
For each corner I folded along the spoke & marked the dart seam (from outer corner). It divides the side of the external octagon exactly in half, so it's easy to mark with a ruler:
I trimmed out a small circle in the center, then basted and tacked the darts in place:
After that, I turned it right side out:
I cut out a paper circle of radius 3.9" and centered it on the brim side of the tam (inside out). Folding the circle into 8 spokes makes it easy to line up the centers.
I marked the perimeter with a pen and basted through the brim (leaving the top free), then cut away excess fabric from the opening, leaving a seam allowance:
Cutting the headband
Now I had to decide whether to cut the headband on the bias (which makes it easier to deal with the curves) or on the straight grain. A bias cut is less stable, so not generally suitable for a band (e.g. a waistband or cuff), but the brim of the tam has plenty of structure and once stitched is unlikely to stretch. Besides, I don't have enough scrap velvet to cut a headband on the lengthwise grain (which is stabler than crosswise). So I think I'll go for a bias cut.
Making the bias strip
(Here's how to make bias strips from a square).
I used an 11" or 12" velvet square to make about 26 inches of 3-1/4"wide tape. I was aiming for 3-1/2" wide, but messed up on on matching the lines on the final seam (see instructions #5), so I had to trim 1/4" from the strips to make a continuous line. I folded the strip in half lengthwise, pressed, and basted for stability, since the velvet is slippery:
Attaching the band
I squared off one end of the band, turned under 1/4" and basted. Since the circumference of a band for radius 3.9" should be about 24-1/2", I marked that point on the band, turned under 1/4" at the end, trimmed and basted it. I also marked the halfway and quarterway points.
I stay-stitched along the seam line of the brim, clipping the seam allowance. Then I pinned the raw edges of the folded strip along the headband seam line, lining up the half and quarter points along the band with the dart seams (one quarter of band for every two dart seams):
I basted along the seam line and whip stitched over the edge to keep the layers from folding or puckering. I had to redo this several times, to make sure that the seam allowance on the band side was not more than the 1/2" I had budgeted. (I started to regret clipping the seam allowance before stitching the band, but it probably would have been very hard to sew the circular seam to the band without clipping.)
Sewing the seam
I put in my largest machine needle (16) and even then had trouble getting the seam under the presser foot of my sewing machine. After a few tries, (and learning how difficult it is to rip out stitches in velvet), I had stitched on the band without puckers or folds:
Here's how thick the seam was:
Note that the ends of the band are not yet joined. I will sew it closed by hand once the lining is inserted, first inserting a thin cord or ribbon that can be used to adjust the size:
Now I'll have to grade the seam allowance to reduce the thickness.
Sewing the Lining
I sewed the darts, as for the velvet:


With lining and velvet both inside out, I loosely tacked the corners of the lining and the tam together (to keep lining in place), then turned velvet right side out, with lining inside. Then I hand stitched the lining to the headband seam and whipstitched around the seam allowances of all layers:

Before turning the band to the outside, I inserted a ribbon, tacking it to the seam at the center front:


And it's invisible when the tam is turned right side out:


What have I learned from this trial run?
My man conclusion is that I need to handle the darts differently, since the head band seam ended up impossibly thick.
Two alternatives that would avoid the bulky darts and problems with thick seam for band:
A
Instead of pleating the velvet and interlining together, sew darts in velvet only (maybe stabilized with muslin), making the hat/brim shape. Then make an inner structure of interlining: stitch together two pieces the size of the inner octagon (hat top size) with cutout for head in one. Sandwich two lining layers in between. Insert into the hat (from outside to in: velvet, interlining, lining.). Baste together along hatband seam line, then sew on band.
In effect, this is to make an inner structure that the velvet tam sits upon. You would use less fabric fo
B
A smaller adjustment from the steps I followed above. Make darts in velvet and interlining together, then trim away interlining close to dart seams. You could make the lining as above, or as on option A (no darts, just cut out two of the inner octagon).
I drew the pattern on a piece of plain newsprint, marking lines for a 14" and a 13" tam. The long side of the pattern is for a fold:
 |
| figure 1 |
Then I cut out one octagon each of red velvet, cotton print lining, and interlining (cotton quilt batting):
 |
| figure 2 |
For the lining, I folded and ironed to mark the eight spoke lines:
 |
| figure 3 |
 |
| figure 4 |
I did the same for the interlining, and then basted along the fold lines to mark the spokes:
 |
| figure 5 |
Next I basted the interlining to the wrong side of the velvet, marking the same spokes. And I did additional basting (quilt-style) between spokes.
To fold the darts that make the brim, I pinned the fabric (velvet side down) to the pattern near the center, matching centers, then marked the eight corners of the octagon with red thread.
For each corner I folded along the spoke & marked the dart seam (from outer corner). It divides the side of the external octagon exactly in half, so it's easy to mark with a ruler:
 |
| figure 6 |
After folding and sewing each dart it looked like this:
 |
| figure 7 |
 |
| figure 8 |
 |
| figure 9 |
Now to mark the head band seam: My head circumference is about 23", so the radius is 3.66". Add to that the thickness of the all the layers of the darts plus the band (about .25"). So that makes a radius of approximately 3.9".
 |
| figure 10 thickness of the darts, to be sewn into headband seam. |
I cut out a paper circle of radius 3.9" and centered it on the brim side of the tam (inside out). Folding the circle into 8 spokes makes it easy to line up the centers.
 |
| figure 12 |
I marked the perimeter with a pen and basted through the brim (leaving the top free), then cut away excess fabric from the opening, leaving a seam allowance:
 |
| figure 13 |
Cutting the headband
Now I had to decide whether to cut the headband on the bias (which makes it easier to deal with the curves) or on the straight grain. A bias cut is less stable, so not generally suitable for a band (e.g. a waistband or cuff), but the brim of the tam has plenty of structure and once stitched is unlikely to stretch. Besides, I don't have enough scrap velvet to cut a headband on the lengthwise grain (which is stabler than crosswise). So I think I'll go for a bias cut.
Making the bias strip
(Here's how to make bias strips from a square).
I used an 11" or 12" velvet square to make about 26 inches of 3-1/4"wide tape. I was aiming for 3-1/2" wide, but messed up on on matching the lines on the final seam (see instructions #5), so I had to trim 1/4" from the strips to make a continuous line. I folded the strip in half lengthwise, pressed, and basted for stability, since the velvet is slippery:
 |
| figure 14 |
I squared off one end of the band, turned under 1/4" and basted. Since the circumference of a band for radius 3.9" should be about 24-1/2", I marked that point on the band, turned under 1/4" at the end, trimmed and basted it. I also marked the halfway and quarterway points.
I stay-stitched along the seam line of the brim, clipping the seam allowance. Then I pinned the raw edges of the folded strip along the headband seam line, lining up the half and quarter points along the band with the dart seams (one quarter of band for every two dart seams):
 |
| figure 15 |
Sewing the seam
I put in my largest machine needle (16) and even then had trouble getting the seam under the presser foot of my sewing machine. After a few tries, (and learning how difficult it is to rip out stitches in velvet), I had stitched on the band without puckers or folds:
 |
| figure 16 |
Here's how thick the seam was:
 |
| figure 17 |
Note that the ends of the band are not yet joined. I will sew it closed by hand once the lining is inserted, first inserting a thin cord or ribbon that can be used to adjust the size:
 |
| figure 18 |
Now I'll have to grade the seam allowance to reduce the thickness.
Sewing the Lining
I sewed the darts, as for the velvet:

Then (unlike the velvet) I trimmed the seams, and zig zagged over them:

Then I cut out the head band circle (same size as for velvet):

With lining and velvet both inside out, I loosely tacked the corners of the lining and the tam together (to keep lining in place), then turned velvet right side out, with lining inside. Then I hand stitched the lining to the headband seam and whipstitched around the seam allowances of all layers:

Before turning the band to the outside, I inserted a ribbon, tacking it to the seam at the center front:

Then I turned over the headband, and slip stitched closed over the lining, covering the ribbon as well, but being careful not to stitch through it:

When I was done, the ribbon served as a drawstring, to adjust the size:

Since I don't think I'll need to use the drawstring, I've tacked it away to the lining in a corner:

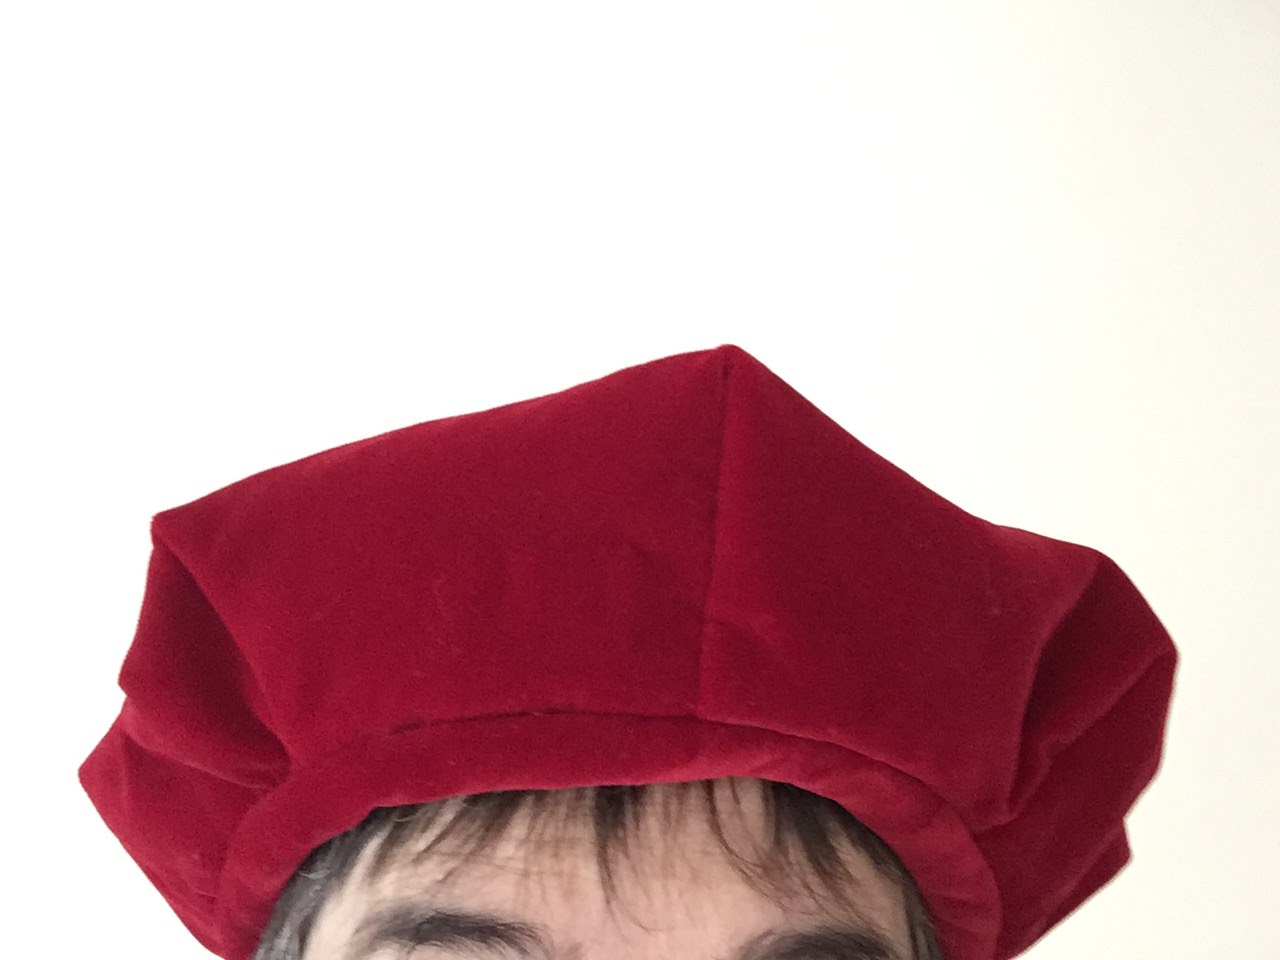
And it's invisible when the tam is turned right side out:

And it turns out, the tam fits!
What have I learned from this trial run?
My man conclusion is that I need to handle the darts differently, since the head band seam ended up impossibly thick.
Two alternatives that would avoid the bulky darts and problems with thick seam for band:
A
Instead of pleating the velvet and interlining together, sew darts in velvet only (maybe stabilized with muslin), making the hat/brim shape. Then make an inner structure of interlining: stitch together two pieces the size of the inner octagon (hat top size) with cutout for head in one. Sandwich two lining layers in between. Insert into the hat (from outside to in: velvet, interlining, lining.). Baste together along hatband seam line, then sew on band.
In effect, this is to make an inner structure that the velvet tam sits upon. You would use less fabric fo
B
A smaller adjustment from the steps I followed above. Make darts in velvet and interlining together, then trim away interlining close to dart seams. You could make the lining as above, or as on option A (no darts, just cut out two of the inner octagon).


Comments
Post a Comment